Sunday, April 27, 2014

Native Gardening is Hot, Hot, Hot!

What's the latest hot trend in gardening?  These days, it's all about getting back to our roots and selecting native plants.  The Perennial Plant Association selected a native grass as their 2014 perennial of the year:  Panicum virginatum 'Northwind', also known as Northwind Switch Grass.

Why go native?  There are so many great reasons! To begin with, it just makes sense that plants that are adapted to the climate and soil will thrive in our gardens. Instead of pouring money  into plants that aren't meant to survive here, spending loads of time coddling these fussy strangers along and trying to convince them that they like it here, we can look to the beautiful and often overlooked plants that have set their roots here for many generations-they are more cost and time efficient.  

All Asclepias species are hosts to Monarch Caterpillars
Perhaps you are a great gardener, with a green thumb and a micro-climate, who is able to successfully grow plants not native to our region.  There are still very important reasons you should consider incorporating at least some natives in your garden beds.  Many species rely on these plants in order to eat and survive!!  Perhaps you've heard the plight of the Monarch butterfly, and the plea to plant milkweed.  Milkweed is the only plant that the caterpillars of the Monarch can eat.  They cannot survive on any other plant.  And the Monarch is the rule rather than the exception.  Many of the other butterflies rely on specific plants as a food source, and if that food source disappears, so will the butterflies.  They cannot adapt.  They cannot change their digestive system to suit the plants that WE think they should.  And, as our land is continually developed, their ecosystems, with the natural plants they rely on, are quickly being replaced with sod and non-native species.  Even incorporating a small, diverse selection of native plants into your landscape can provide an oasis for these species which they desperately need!

There is a lot of press out there right now about butterflies and bees.  Attracting pollinators to your yard is a must-do these days.  Many catalogs and greenhouses offer lists of  plants to attract bees and butterflies to your yard.  And it is a wonderful endeavor, to create a habitat for these creatures.  But before you set off to plant up your butterfly plot, double check that the majority of those plants are native to your area.  Planting lovely flowers will certainly attract bees and butterflies.  But if you wish to keep them in your yard, if you wish to truly create a habitat that will invite them to come and stay, those native plants are your key to success!!


More Reading:  Illinois Extension Article on Butterfly Gardens

Monday, April 21, 2014

Composting: Optimize Your Soil

Yesterday was that perfect day of spring that all gardeners spend their winters dreaming about.  After a particularly long and bitterly cold winter, followed by a snow-filled spring, the sunny, yesterday's 70F weather beckoned me outdoors to work in my garden.  I had already cleaned up most of my beds.  There was some light weeding to do (I don't know about you, but there is ALWAYS weeding to do in my garden!). But my main goal yesterday was to side-dress my perennials with compost.

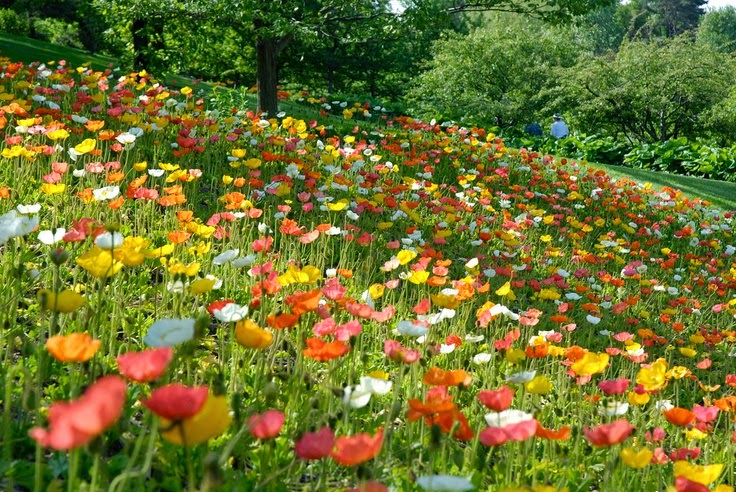
The foundation bed along my front walk, top dressed
Adding compost to your garden beds is the #1 best thing you, as a gardener, can do to improve your soil.  Compost, by the definition found in Merriam Webster Dictionary, is "a mixture that consists largely of decayed organic matter and is used for fertilizing and conditioning land."  It is a simple and straightforward definition, but I find that gardeners have a lot of questions and concerns about which compost is best, how and when to apply it, and how to make their own compost.  Before we get to that, though, let's look a little deeper at how and why compost is so beneficial to your soil.

Soil is something that, in and of itself, we often take for granted.  We may vaguely know we should add various amendments to it, but we seldom think about how soil functions, and how or why something like compost is beneficial to it. Soil may be defined as the upper layer of the earth's mantle which may be dug or plowed and in which plants grow.  In other words, soil consists of tiny particles of worn and eroded rock upon which it lies.  While soil contains minerals, it does not inherently contain any of the organic matter that creates a rich growing medium. But, when decaying organic matter is placed in or on top of the soil, the creatures that live within the soil quickly go to work to break it down and incorporate it.  This material becomes humus, and it's properties allow the soil to bind together in healthy ways, to hold water, and to unlock and make available to plant roots vital minerals needed for healthy photosynthesis.

Compost is the term we use for decaying organic material.  Compost may be made up of kitchen scraps and old leaves, or it may be a manure pile behind the horse stable.  Anything that was once alive and now is decaying can be qualified as compost.  As for me, I have a couple of ways that I get and use compost.  For my flower beds and my shrubs, I go to our Village Public Works yard with a bunch of empty buckets.  There, they offer free aged compost that incorporates manure from the town horse stable, and clippings collected from Public Works projects, like hedge trimmings and dead plant materials from last year's planters, old beds, grass clippings, etc.  I can shovel and take away as much as I like, and with a couple of car loads, I can dress all my beds with this excellent free compost.

However, in my vegetable garden, I like to be a little more particular.  I like to grow my vegetables organically, and to ensure I am doing that, I make my own compost in one of the small, plastic home composters that are available to purchase at your local garden center or in catalogs.  This has benefits and drawbacks, which I'll get to in a bit.  But for right now, I want to highlight the main benefit--unlike any other compost, this method allows me to have complete control over what goes in to this compost, and ultimately, into the plot on which I grow our vegetables.  For example, when I add grass clipping from my own yard, I do it with confidence, because we do not treat our lawn with chemicals.  I cannot know for certain what is in compost I obtain from any other source.

Of course, compost is commercially available in bags at your local garden center.  You can buy anything from simple bagged manure to extra-pricey organic compost or mushroom compost.  There is nothing wrong with buying it, and any and all of it is beneficial to your soil.  Unless you are concerned, like me, about it being organic, you don't have to choose the pricey mushroom compost over the cheaper bagged manure.  In fact, it is important to be aware that mushroom compost can be high in salts, and those salts can build up in the soil over time.  This just illustrates that the most expensive option isn't always the best option.  Since compost near me is so easily obtained for free, I feel like I'm wasting my money if I buy it bagged.  It's a little more work, but I have the time and energy to do it.  The convenience and time-saving benefits of commercially-prepared bagged compost are a great option for many gardeners.

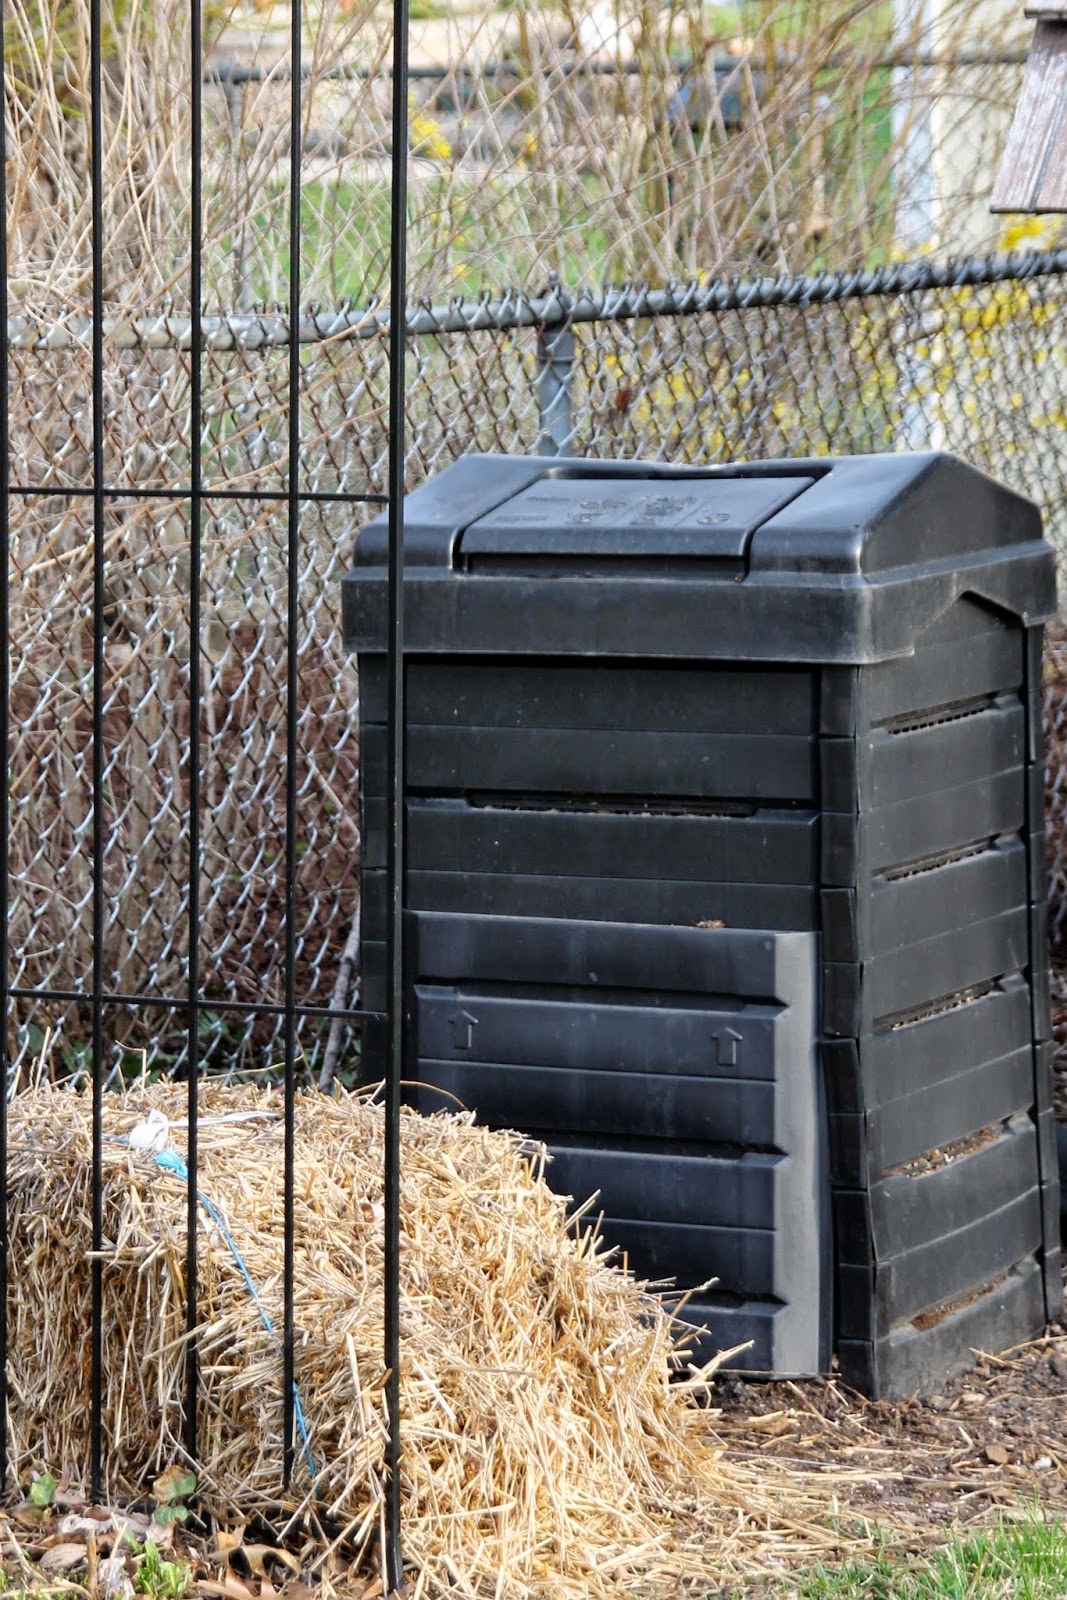
My compost bin, with a bale of straw in front

 If you are interested in composting yourself, you can make it as complex or simple an operation as you like.  You can bury your kitchen scraps in the garden-that's as simple as it gets.  Or you can build yourself the ultimate 3-stage compost bin, 9' long by 3' wide.  Or you can fall somewhere in between those two ends of the compost scale.  There are 2 main methods of composting, hot composting or cold composting. I should also mention worm composting, also called vermicomposting, which I have tried, but find somewhat impractical to maintain on a large enough scale to make it beneficial for me.


Cold composting is what I do in my bin.  You simply add your organic materials and let them do their decaying on their own time.  I generally add alternate layers of "green" kitchen scraps or any other fresh organic material, with a layer of "brown" straw, dead chopped leaves, or sawdust.  Every so often I turn my pile to make sure it has air circulation, and check it to make sure it's moist so that the materials decay rather than dehydrate.  It may take a little longer to produce compost, but that's ok with me.  It's an easy, no-fuss method of composting, and suits my style of gardening.  Since I only use my homemade compost on one area of my yard, my vegetable garden, I'm not worried about volume or how fast it is produced.

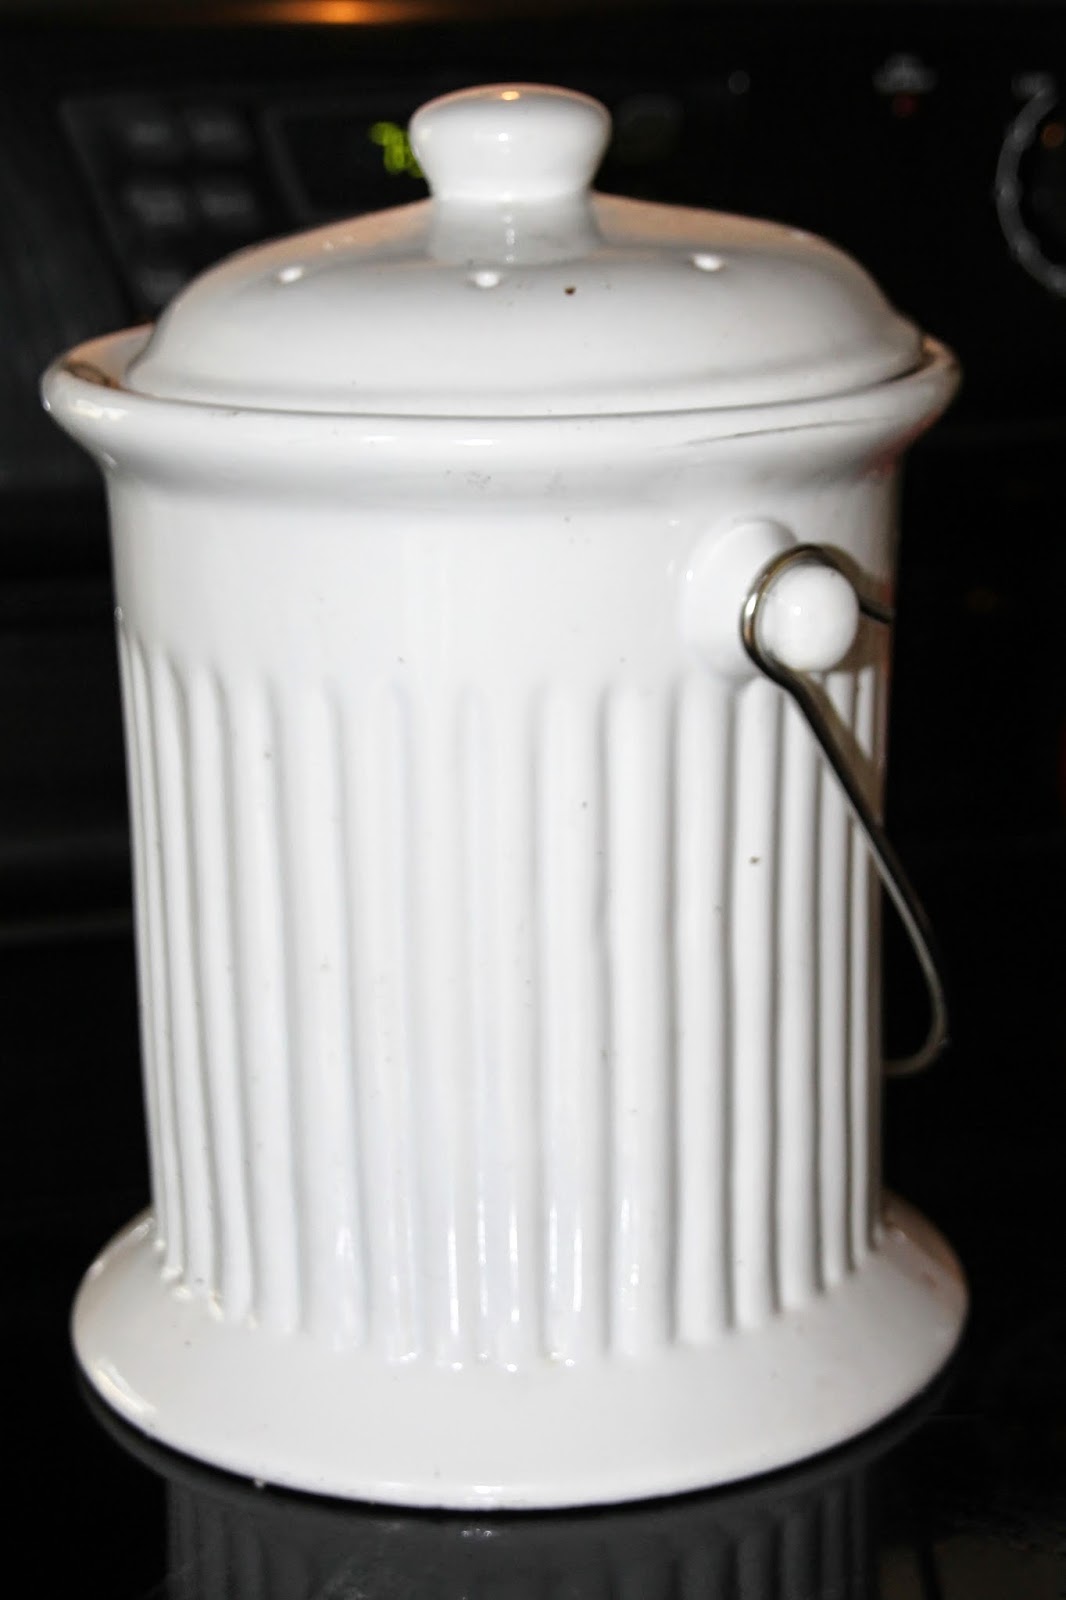
I collect my kitchen scraps in this ceramic pail.
Hot composting is a little more involved process, in which the composting occurs more rapidly and thereby  generates heat.  It can generate high-quality, weed-free compost in a relatively short period of time, but it does require a little more attention.  It uses the same materials as cold composting, and the same ratios, but just in a larger, more managed pile.  A hot compost pile generally needs to be a minimum of a cubic yard in size in order to have enough mass to maintain the heat required to cook the compost.  Most commercially available plastic composters, like the one I have, are really too small to make an effective hot compost pile, although I have no doubt that there are times where the process accelerates enough to generate hot compost conditions for short periods of time. However, they just are too small to maintain the mass needed to sustain that reaction for long.  The benefit of hot composting over cold composting is that hot composting will kill any weed seeds incorporated into the pile.  Cold composting will not do that.  Something to be aware of when adding material to your pile. When I have a weed that has gone to seed in my yard, I try to keep it out of the compost pile.  I use straw as my brown material, rather than hay, which contains thousands of seeds.
If you are incorporating cow, horse, or chicken manure into your compost pile, you should probably aim to have a hot compost pile to kill any potentially trouble-causing ingredients--whether that is weed seeds or salmonella.

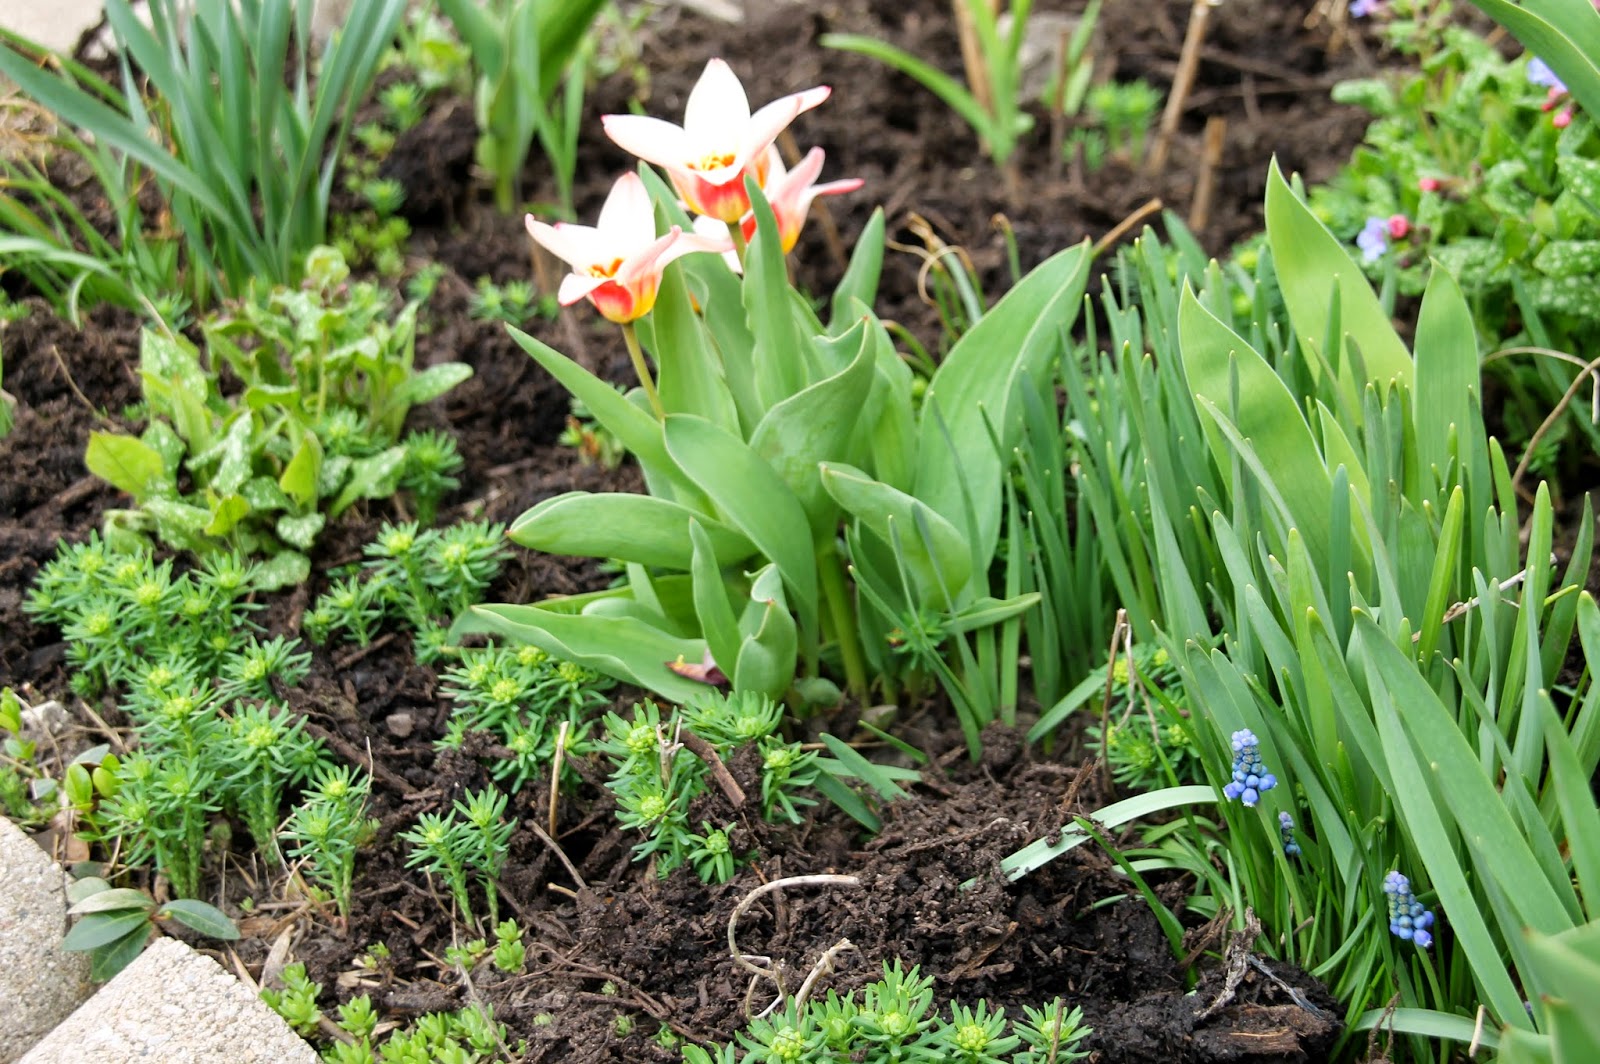
Veronica 'Waterperry Blue,' side dressed with compost
As a gardener, you can add compost to your garden in two ways.  You should definitely incorporate it into the soil each and every time you dig a hole in your garden.  But, for established beds, you may simply side-dress your plants with compost.  The earthworms and other organisms within the soil will come to the surface and bring it down in to the soil naturally over time.  In fact, a good example of this is to consider a bed that you mulched last spring. If that mulch was laid directly on the soil, then the depth of it today is considerable less than it was when you first laid it.  That is because, as it decomposed, our friendly little soil-dwellers have been busy incorporating it into the soil.  Cold composting at it's finest.

Compost is a vital part of maintaining healthy, vibrant soil and keeping our plants happy and productive. It need not be intimidating, nor expensive.  If there is one thing you would add to your gardening chore list, I would encourage you to consider adding compost.  You can't go wrong!


Friday, April 18, 2014

Poppies, Poppies, Poppies!


As a Master Gardener, I am expected to perform a minimum of 30 hours of garden-related volunteer work each year.  There are many ways to do this, but my absolute favorite way is to join with a wonderful group of very dedicated and generous volunteers who work in the English Walled Garden at the Chicago Botanic Gardens.  Not only are my fellow volunteers great company, but the horticulturists always greet their volunteers with an enthusiastic smile, and say good bye to them with a hearty "thank you!" Even when the work we are given is back-breaking, it's easy to pass the hours there, with great company and a beautiful setting.  Yesterday was no exception.

It's hard to believe that it snowed this past Monday evening.  Or that the snow stuck around all day on Tuesday.  It sure didn't feel like spring!  But all that changed on Thursday morning.  Under blue skies and a warm sun, we joined together to complete a monumental annual task--planting the English Oak Meadow with Icelandic Poppies.  "Meadow" is a term that may be used rather loosely, for, in this case, the majority of the meadow is on about a 30 degree incline, which I might more properly term "Hillside." But, as the term "meadow" has such a charming ring to it, I understand the choice.  At any rate, when I arrived, there were flats and flats of poppies in 4" pots awaiting us.  Soil knives and kneelers in hand, we ascended the steep banks of the meadow and we planted almost 6,000 poppies!!  

These poppies are a beloved tradition at the garden, and will be enjoyed by thousands of people in the coming weeks. After which we will ascend the meadow once more to plant a summer display.  In between now and then, I am looking forward to showing up at my appointed time (Thursday mornings, 'til noon--stop in and say hi!), and helping make spring happen.  Can't wait!

You'll BEE Seeing More About This Topic!


Maybe some of you remember that I posted a new photo of a bee on Facebook each week last summer? I've been doing a lot of reading and studying this past year to try to understand what's going on with bees.
, and about Colony Collapse Disorder. I'm going to repeat my bee pictures this summer, and with each one, I'm going to post a little myth-busting info. For example, did you know there are over 500 species of native bees in Illinois? Some of them colonize, but some live alone. Some nest in twigs, branches, or trees, some nest underground. While chemical pesticides, fungicides, and miticides are a threat to them, an even greater threat is their loss of habitat. As more and more land is turned into pristine yards, their nesting sites are disappearing. Planting flowers that attract pollinators is a first step that many people are interested in doing. But a big part of attracting native pollinators is being willing to leave at least parts of your property in a natural state (preferred), or looking at adding some of the "bee houses" to your yard.

Lombard Garden Club


I had the opportunity to give my Victory Garden talk to the Lombard Garden Club last week.  What a great group--the room was filled with men and women, young and old, every one of them an enthusiastic gardener!  This club, which started in the early 1920s, does a fundraiser each year by hosting a lilac sale.  Last year, they sold over 400 lilac shrubs, with many different varieties.  They first started doing it years ago, when the village of Lombard gave them a grant to help defray the cost of purchasing the stock.
Lombard has been known for many years for it's lilacs, and even has a park named for them.  Lilacia Park was originally part of the estate of Colonel William R. Plum, a telegraph officer in the Civil War.  He bequeathed his land and collection of lilacs to the people of Lombard for a public park, and his house for a free public library.  in 1929, the landscape design for the park was done my the famed landscape architect, Jens Jensen.  Today, Lombard hosts a Lilac festival each year, and is known as The Lilac Village.
These are the fascinating bits of history I pick up as I visit garden clubs all over the area.  Each one is unique, and has a lovely story to share with me about their origins. And so, I always leave a garden club having shared some of my knowledge, and at the same time, having learned something new.  It's a good exchange.

How To Start Seeds


Broccoli

It's that time of year again.  The dreaming and waiting have given way to planting.  Indoor planting, that is.....April 2nd, and it was 17F this morning when we woke up.  Can't let that slow me down, though....so my window sill is full of tiny seedlings!

Starting seeds intimidates a lot of folks, but it's actually easier than it seems.  With attention to a few key details, anyone can do it.  Here are my keys to success:

Cauliflower
1.  Don't start too early.  It's easy to get excited about spring and plant way too early.  The packet of seeds will tell you exactly when to plant them.  If it says to start your seeds indoors 6-8 weeks prior to your last frost date, then find out your last frost date, and count back 6-8 weeks.  For example, in Zone 5 where I live, our last frost date is June 15.  If I count backward 8 weeks from June 15, I find I should start those particular seeds around mid-April.  Oops...I just broke my own first rule.  My tomatoes and basil actually got planted 2 weeks early.  See how easy it is too break this rule?


2.  You need supplemental light.  Go buy a shop light.  It doesn't have to be super-fancy, it doesn't need expensive grow-light light bulbs.  Just a plain old shop light will do.  Here's mine.  I got it on sale a couple of years ago for $15.  I like it's shiny hood---I imagine it helps reflect more light on my seedlings.  I don't know if that's true, but I like to imagine that.  Anyway, as you can see,  I hang it in my sunny bay window, and I adjust it's height as my plants grow taller.  Without supplemental light like this, your seedlings grow leggy and weak.  I have mine on a timer, and the timer is set to provide light for 12 hours a day.  That way I don't have to remember to turn it on and off.

3.  Use clean seed starting pots/trays.  It's ok to reuse the same trays year after year, but you have to clean and wash them in a bleach/water solution.

Parsley


4.  Don't use potting soil.  Go buy seed starting mix.  It is a soiless medium, and is light and easy for tiny young roots to penetrate.  It holds the right amount of moisture.  However, what it doesn't have is any nutrients.  Seeds don't need fertilizer to sprout.  But once the seedlings sprout, you'll need to feed them.  Plant your seeds in your prepared trays/pots.  (By prepared, I mean filled with moist dirt.)  Cover the newly planted seeds with a plastic lid, plastic baggie, whatever, to maintain a humid, moist environment.  Check the seedlings after a  few days, then check daily until you see sprouts.  Once the seeds have sprouted you can remove the covering.

5.  Once they sprout, water and feed your seedlings.  Regularly.  As in, every day.  I like to eat and drink every day, you like to eat and drink every day.  So do your seedlings.  Get a water-soluble fertilizer, mix up a very VERY weak batch (I think I use about 1/4 tsp. per half gallon of water), and use it every single day.

6.  This step is optional, but I like to use a small fan on my seedlings.  Just for an hour or two a day, run on low and set to blow indirectly across the trays.  I think it helps keep the humidity levels around the seedlings under control, which can prevent your tiny plants from falling prey to a disease called 'damping off.'  I also think it helps induce strong stems.  I've grown seedlings successfully without a fan many, many times, and you can too.  But I like my addition of a fan, and think it's worth suggesting.

Early Harvest Tomato
7.  Once they are growing well and have their first set of leaves, thin them out to one per cell (if you are using a cell pack), or per the directions on the back of the seed packet.  Thinning is the toughest part for any gardener, but you'll just have to put on your game face and rip those babies out.  If you don't do it, you'll end up growing a bunch of weak, poor plants.  So sacrifice the extras for the good of the few.  You won't regret it later.

OK, so that's really it.  Don't be intimidated.  They are only seeds.  If they don't grow, you can easily go get more and try again.  Good luck, and happy planting!


Basil


Canna 'South Pacific Scarlet'